Are you a Mac user and need to create publication-quality graphics of JMP graphs or reports? With JMP 11, it is now even easier and can be done with the help of standard applications that come with MacOS.
JMP developers have completely rewritten the graphics engine on the Mac version of the product. As a result, there is a nice workflow that you can follow that produces high-quality, print-ready graphics for your presentations, journal publications or other situations where the very best quality graphics are required.
Let’s look at an example. In Graph Builder, I’ve created the following graph that I want to output as a vector image: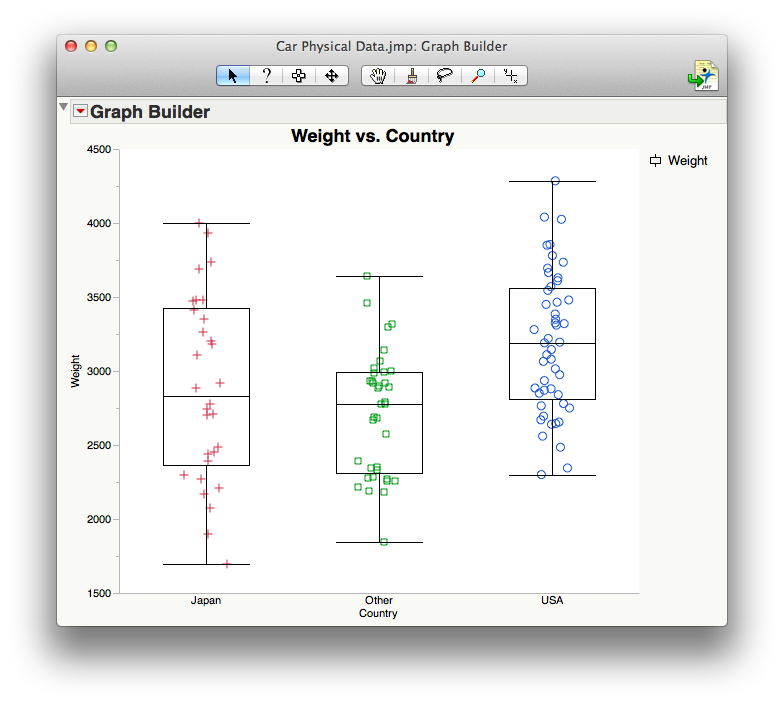 I’ll use my selector tool (keyboard shortcut: S) or choose the fat plus sign from the toolbar. Then select the entire plot with the selector tool (it will turn blue). From there, I am going to want to place it onto the clipboard by either typing CMD-C on the keyboard or using Copy from the Edit menu in JMP.
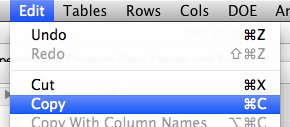
Now, I am going to want to open Apple’s Preview application, navigate to the File menu and select New from Clipboard (or type CMD-N).
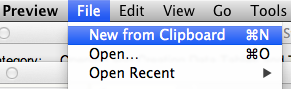
This will create a vector PDF file from the selection in JMP. You can save the file, and now it will be ready for use in any publication or presentation.
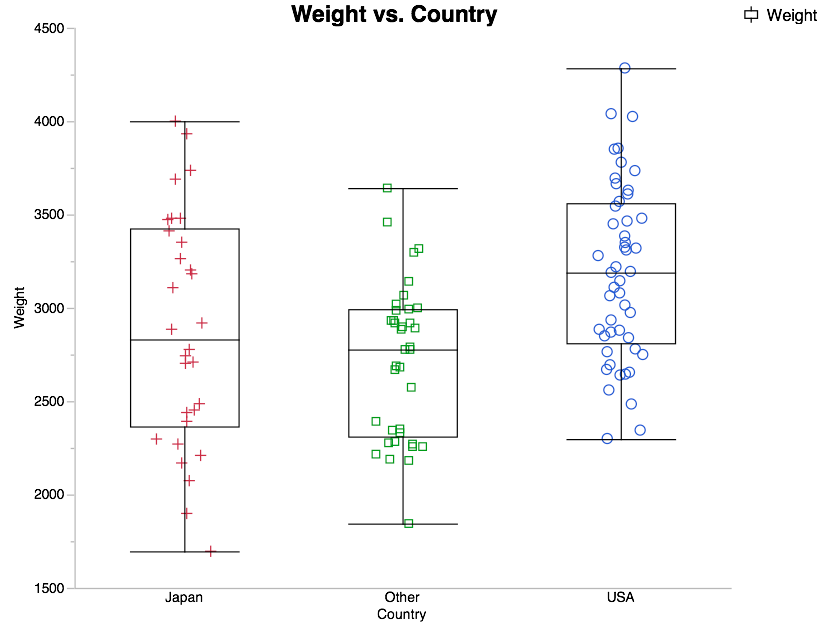
The advantage of this workflow and graphic output strategy is that I can rescale these graphics files to any size or resolution without a loss of quality or clarity. Notice in the crop displayed below how the quality of the graph is retained, even when the size of the graph is increased by 300 percent. Another potential advantage of using vector PDFs over another vector format such as .eps, is that I can easily share these graphs with other members in my organization who don't have specialized image editing software.
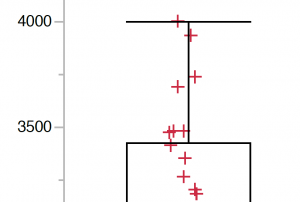
These image files can be shared with both my Mac- and Windows-using colleagues, can be embedded in Microsoft PowerPoint or Word documents, can be emailed and viewed on mobile devices, and will satisfy the graphics guidelines of most journal publications. It is also possible to create variable-DPI raster graphics directly from these vector PDF image files in Preview. Here is another example of a report from the Fit Model platform in JMP:

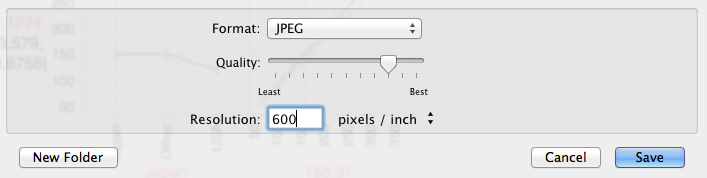
It is possible to create a .jpeg image file, at any DPI directly from this file. Selecting File -> Export will bring up the following menu. I’ll select JPEG from the Format selection and then set my Resolution to any pixels/inch that I desire.
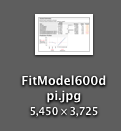
Notice the dimensions of my new saved file – 5,450 x 3,725 pixels – more than 20 megapixels. No matter if your journal publication needs figures in vector format (send them the vector PDF images as-is), or requires high-resolution versions in a raster format (simply save the vector in the correct file format at the resolution that the journal is requesting), you can easily and painlessly export high-quality graphics straight from JMP using this workflow.


